How do you access Balena?
Gaël Donval <g.donval@bath.ac.uk> and Tina Düren <t.duren@bath.ac.uk>
One of the immediate benefits of the command-line is availability: you can access Balena from literally any computer through a protocol called ssh (secure shell).
Technically, you need a program that can speak ssh, proper credentials (your university user name and password) and Balena’s address:
host name |
|
port |
|
There are actually many different programs you can use to connect to Balena: you only need to get one of them to work. The rest of the section is dedicated to demonstrating the log on process on a few of them. Fig. 14 depicts what a successful connection should look like.
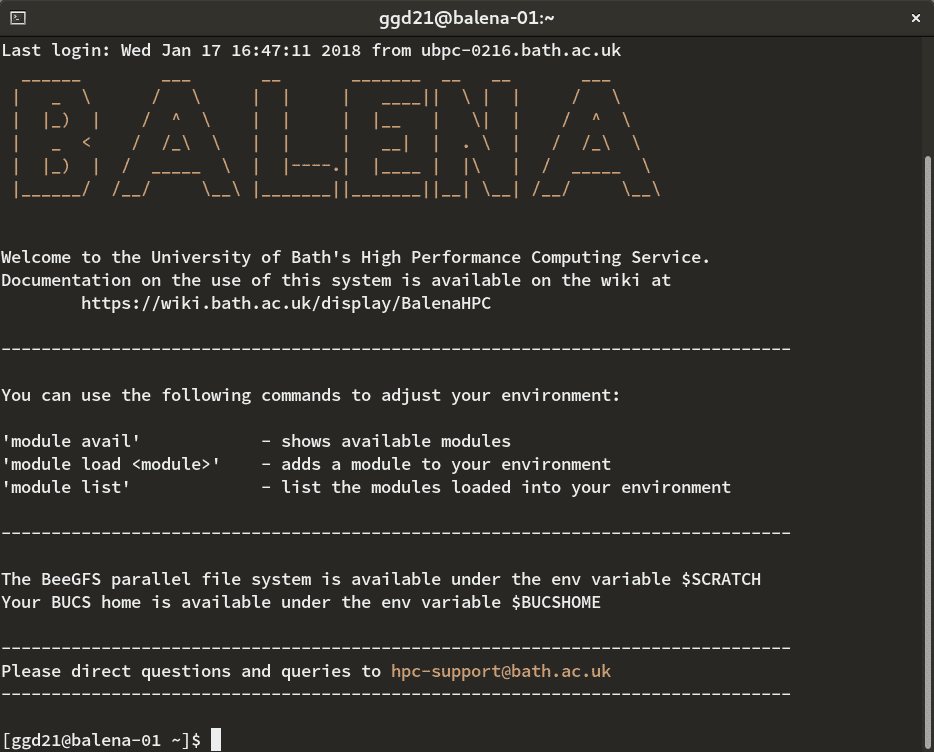
Fig. 14 Successful connection to Balena.
Logging in from the University computers
University-managed Windows computers should be provided with a shortcut to
Balena: you should be able to access it by searching for Balena in the
menu. If not, start a program called Xming then
launch Kitty. Balena should already be mentioned in the stored session
list. Just click it and click .
Enter your university username and password (nothing will be displayed) and press Enter. If the connection was a success, you are all set up.
Logging from your Windows computer
Download MobaXterm, install it and open it. Click (top left corner). Type balena.bath.ac.uk in the Remote Host
form, click , enter your university user name,
bookmark those settings if needed and click .
Logging in from your MacOS or Linux computer
If you are running on MacOS, either install MobaXterm and follow the indications described above or install XQuartz and launching it.
In both MacOS and Linux, just open a terminal and type the following
replacing <username> by yours:
$ ssh -X <username>@balena.bath.ac.uk
Enter your password (nothing will be displayed) and press Enter. If the connection was a success, you are all set up.
Note
Very recent versions of Windows (Fall Creator Update or newer) include OpenSSH. To install it, head to and click Manage optional features under Apps & features. Click Add a feature and install OpenSSH Client. Once installed, you can type the aforementioned command in Windows PowerShell.