Basic Functionality Testing
Introduction
Before starting your task, familiarise yourself with the robot and how it works. During the project week, you do not need to modify the Arduino code of the robot.
- Power the motors, connect the Arduino Uno programming board to your PC with the programming cable.
- Set the current limit of the A4988 motor driver, changing the potentiometer value. The potentiometer adjusts the current flowing through the stepper motor from exceeding its maximum ratedcurrent. You can get the current limit by measuring the $V_{ref}$ voltage on the potentiometer. $R_{CS}$ is the current sense resistance with a value of 0.068 Ω. The current limit, $I_{max}$, which is the current rating relates to the reference voltage as follows:
To avoid the motors heating up quickly you can reduce the $V_{ref}$ value by dividing by 2.5.
\[V_{ref} = \frac{(8⋅I_{max} ⋅ R_{CS})}{2.5}\]You can find the $I_{max}$ (current rating) value in the datasheet here.
Your $V_{ref}$ should be between 0.35 V and 0.45 V to be able to drive the motors without heating them up.
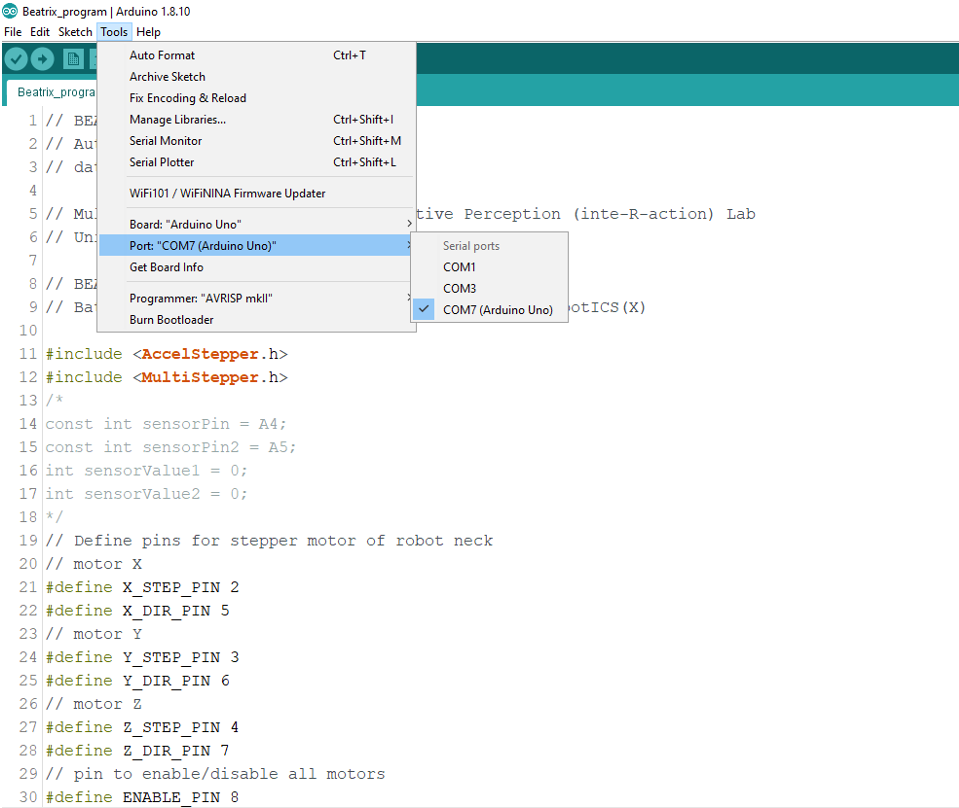
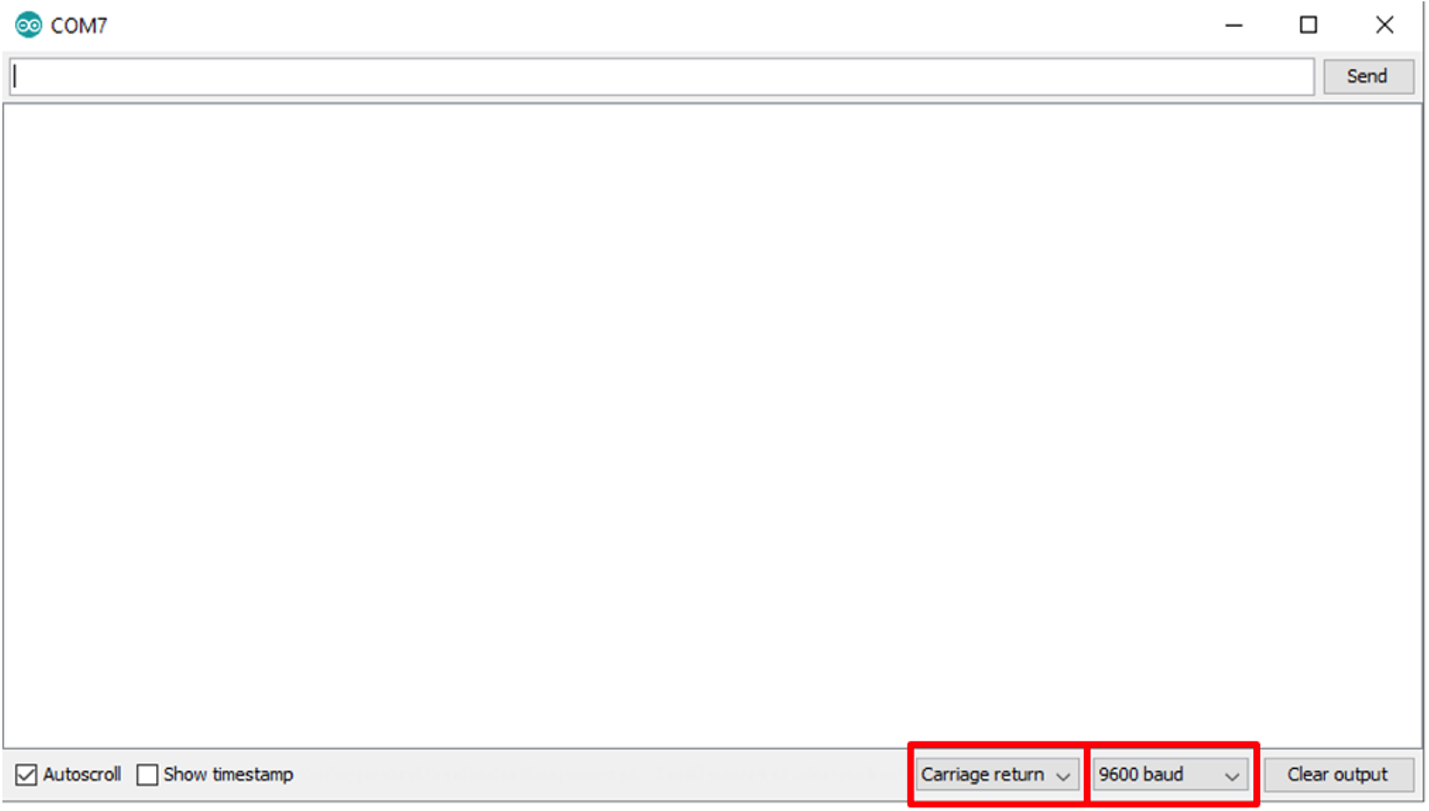
- After you completed the connection of the programming board to the PC successfully, you are now ready to test the robot motion functions. Open Serial Monitor from the right side of the Arduino IDE.
- Select Carriage return and 9600 baud rate, as shown in .
- The Arduino microcontroller has been programmed with the BEATRIX firmware that allows you to communicate with the robot and control the motors (robot neck) using a set of commands.
- You can have a look and inspect the BEATRIX code on our GitHub repository. You won’t be able to upload any code at this stage on GitHub.
- You will use the set of commands given in the following table to test the robot motions:
| Command | Explanation |
|---|---|
| @CALSTATUS | Status of the current robot calibration. |
| @CALNOW | Calibrate the robot. Required before controlling the motors. It also sets the robot to home position. |
| @ENMOTORS ON | Activate the motors. |
| @ENMOTORS OFF | Deactivate the motors. |
| @MOVRX stepSize speed | Move the motor connected to the X on the CNC shield with stepSize and speed values. Example: @MOVRX 100 100Moves X axis 100 steps at 100 speed value. |
| @MOVRY stepSize speed | Move the motor connected to the Y on the CNC shield with stepSize and speed values. Example: @MOVRY 100 100Moves Y axis 100 steps at 100 speed value. |
| @MOVRZ stepSize speed | Move the motor connected to the Z on the CNC shield with stepSize and speed values. Example: @MOVRZ 100 100Moves Z axis 100 steps at 100 speed value. |
| @MOVRALL stepSizeX stepSizeY stepSizeZ speedX speedY speedZ | Move the motors connected to the X, Y and Z on the CNC shield with the corresponding stepSize and speed values. Example: @MOVRALL 50 100 150 100 150 200Moves X, Y, Z motors 50, 100 and 150 steps at 100, 150, 200 speed values. |
| @GETALLPOS | Returns the motor position values. |
| @MOVHOME | Move all motors to the calibrated initial/home position. |
The output from each of the above commands should be as follows:
Success:
ACK -> command received correctly
ACK - > successful output command
Fail:
ACK -> command received correctly
NACK -> unsuccessful output command
When you test the robot on the serial monitor;
- You need to send the
@ENMOTORS ONcommand to the robot. This command will activate the motors. - You will calibrate the initial/home motor positions using
@CALNOWcommand. - You can move the motor connected to any axis on the CNC shield. For example, you can move the motor connected to the X axis by 50 steps and 100 speed using
@MOVRX 50 100.
Camera Testing
As the cameras are USB controlled, they can initially be tested by connecting them up to a computer or laptop. This can then be done using a simple MATLAB script, as shown in .
% Copyright 2024 University of Bath
%
% Licensed under the Apache License, Version 2.0 (the "License");
% you may not use this file except in compliance with the License.
% You may obtain a copy of the License at
%
% http://www.apache.org/licenses/LICENSE-2.0
%
% Unless required by applicable law or agreed to in writing, software
% distributed under the License is distributed on an "AS IS" BASIS,
% WITHOUT WARRANTIES OR CONDITIONS OF ANY KIND, either express or implied.
% See the License for the specific language governing permissions and
% limitations under the License.

% Create a webcam object
% If a second webcam is connected, use: cam = webcam(“UC60 Video”);
cam = webcam();
% Create a figure for displaying the video
fig = figure;
set(fig, 'KeyPressFcn', @keyCallback); % Set key callback function
set(fig, 'CloseRequestFcn', @closeCallback); % Set close callback function
% Infinite loop to continuously capture and display frames
while ishandle(fig)
% Capture a frame
frame = snapshot(cam);
% Display the frame
imshow(frame);
% Pause for a short duration to control the frame rate
pause(0.01); % Adjust the pause duration to change frame rate
end
% Release the webcam object
clear('cam');


% Key callback function
% - "~" is the first input argument, means it isn't used
% - 'event' contains information about the key press event
function keyCallback(~, event)
% If the pressed key is 'Escape' or 'q', close the figure window
if strcmp(event.Key, 'escape') || strcmp(event.Key, 'q')
delete(gcf);
end
end
% Close callback function
% - "~" is the first input argument, means it isn't used
% - "~" is the second input argument, means it isn't used
function closeCallback(~, ~)
% Closes the figure window
delete(gcf);
endThis is how you create a window with one webcam. Now try modifying this code to work with 2 webcams.
This can also be done in Python, as shown in :
"""
Copyright 2024 University of Bath

Licensed under the Apache License, Version 2.0 (the "License");
you may not use this file except in compliance with the License.
You may obtain a copy of the License at

    http://www.apache.org/licenses/LICENSE-2.0

Unless required by applicable law or agreed to in writing, software
distributed under the License is distributed on an "AS IS" BASIS,
WITHOUT WARRANTIES OR CONDITIONS OF ANY KIND, either express or implied.
See the License for the specific language governing permissions and
limitations under the License.
"""

import cv2

def main():
    """
    Opens the default webcam and displays the video stream in a window.

    The function continuously captures frames from the webcam, displays them in a window
    titled 'Webcam', and waits for the user to press 'q' or close the window to quit.
    If the webcam cannot be accessed or if there is an error reading frames, an error
    message is printed.

    Returns:
        None
    """

    cap = cv2.VideoCapture(0) # if there are additional webcams already connected, just change the number in the second part.


    if not cap.isOpened():
        print("Error: Unable to access the webcam")
        return

    cv2.namedWindow("Webcam", cv2.WINDOW_NORMAL)

    while True:
        ret, frame = cap.read()
        if not ret:
            print("Error: Unable to read frame from the webcam")
            break

        cv2.imshow("Webcam", frame)

        key = cv2.waitKey(1)
        if key == ord('q') or key == 27:  # 'q' or Esc key
            break

    cap.release()
    cv2.destroyAllWindows()
    cv2.waitKey(1)  # Additional waitKey call to handle the destruction of the window

if __name__ == "__main__":
main()Microphone Testing
The robot is equipped with two microphones. The two microphone outputs should be connected by default to pins A0 and A1 on the Arduino UNO board. To test whether the microphones are functioning or not, you can use MATLAB’s Arduino hardware plugin to read voltage signals from the analog pins. You can use an external audio source (e.g. music from your mobile phone or laptop) to record the change in the microphone’s output.
You can use the MATLAB script shown in to test this:
%-------------------------------------------------------------------------%
%--------------------------- BEATRIX Mic Test ----------------------------%
%-------------------------- Author: Samer Ahmed --------------------------%
%-------------------------------------------------------------------------%
clear
clc
%---------------------------%
%-- Object Initialization --%
%---------------------------%
% Check if the Arduino object already exists
if(~exist('arduinoObj','var'))
% If exists, skip to save time. If not, create it from scratch
arduinoObj = arduino("COM7","Uno","Libraries","I2C"); % Arduino object
end
%---------------------------%
%--------- Mic Setup -------%
%---------------------------%
% Microphone setup
mic2 = 'A0'; % 'A1' if you need to test the other microphone
%---------------------------%
%--- Real-Time Operation ---%
%---------------------------%
while true
% Read voltage samples
samples = zeros(50, 1); %--> Recorded samples initialized to zeros
for i = 1:50
samples(i) = abs(readVoltage(arduinoObj,mic2)-1.25);
end
% Display the mean of the samples' window
disp(mean(samples));
endYou should receive a reading of about ~0.03 - 0.04 volts for background noise. However, if you make the audio source approach the microphone, the reading should go up to at least ~0.09 - 0.1 volts.
Creating Your Git Repository
Git is a powerful version control system designed to track changes in files and coordinate work on those files among multiple people. It is an essential tool for programming and software development, enabling efficient code management and collaboration.
For the purpose of this course we will be using Github as the University of Bath has an enterprise license for this. The principles behind most git hosts are the same.
First of all. It’s better to build good principles in Git rather than learn a janky way. To be quite honest, if you are not using Git you are handicapping yourself when coding. We are told to save our work often, so why not integrate that into your coding practice. Save yourself the trauma of losing all your projects.
We will briefly cover the basics, what it is, how to use it and the most common language and methods of use.
Github is a code host software that stores projects remotely as well as remotely. By using git you can work on a single piece of software at the same time before comparing and merging your differences between the code.
Basic Terms
Repository: A repository, or “repo,” is the heart of any project within Git. It encompasses the entire collection of files and folders associated with a project, along with each file’s revision history. The repo also tracks changes, branches, and commit history, allowing you to revert to previous states and collaborate more effectively. Repositories can be local (on your computer) or remote (stored on a server like GitHub).
Main/Master(Legacy): The main/master(Legacy) branch is the default branch in a Git repository. It represents the authoritative, production-quality version of your project. Working directly on the main branch is considered risky because it’s where your stable code lives. It is bad practice to work in main. Instead, development work is typically done in separate branches, merged into main only after thorough testing.
Branch: Branches are used to develop features, fix bugs, or experiment in a contained area of the repository. Each branch is an independent line of development, ensuring that the main branch remains unaffected until changes are ready to be merged. This approach allows parallel development among team members, allowing for feature-based work that can be reviewed and integrated at a later stage.
Commit: A commit is a snapshot of your repository at a specific point in time. Think of it as a checkpoint, where you can save the current state of your project. Each commit contains a message describing the changes, making it easier to track progress and understand the history of a project. Commits allow you to roll back to earlier versions if something goes wrong, providing a safety net.
Push: Pushing is the act of transferring commits from your local repository to a remote repository. This step shares your changes with others and updates the remote repo with your latest work. Pushing is an essential part of collaborating in Git, as it allows for the integration of team contributions to a shared project repository.
Pull request: A pull request is a method to notify team members about changes you’ve pushed to a repository on GitHub. By opening a pull request, you’re proposing your changes and requesting that someone review and pull in your contribution and merge them into their branch. Pull requests show diffs, or differences, of the content from both branches, making it easier to see what has been modified.
Merge: When your local branch is at a stage where you are happy and you want to put it into the main code, you merge it. This allows you to compare the differences between your branch and the main branch and integrate those changes.
Init: The git init command creates a new Git repository. It converts an existing, unversioned project to a Git repository or initializes a new, empty repository. Most other Git commands are not available outside of an initialized repository, making git init the first command you’ll run in a new project.
Clone: Cloning a repository means making a full copy of a repository, including all of its history, onto your local machine. This action is performed using the git clone command. Cloning is useful for getting a local copy of a remote repository, whether to start contributing to a project, review code, or run and test the application locally.
Fork: A fork is a copy of a repository that you manage on your GitHub account. It allows you to freely experiment with changes without affecting the original project. Forking is often used to propose changes to someone else’s project (via pull requests) or as a starting point for a new project idea.
Git is special in that we can revert back to previous versions of the software very easily as well as being encrypted and typically Operating system independent.
Installation Instructions
Linux: In terminal run:
sudo apt-get updatesudo apt-get install git-all
Windows: Download the installation files from the GitForWindows website.
MacOS: Open terminal, type git if it is not installed you will be prompted to install it.
On all operating systems, in terminal (command prompt for Windows) type git version to verify it is installed correctly.
Log into Git
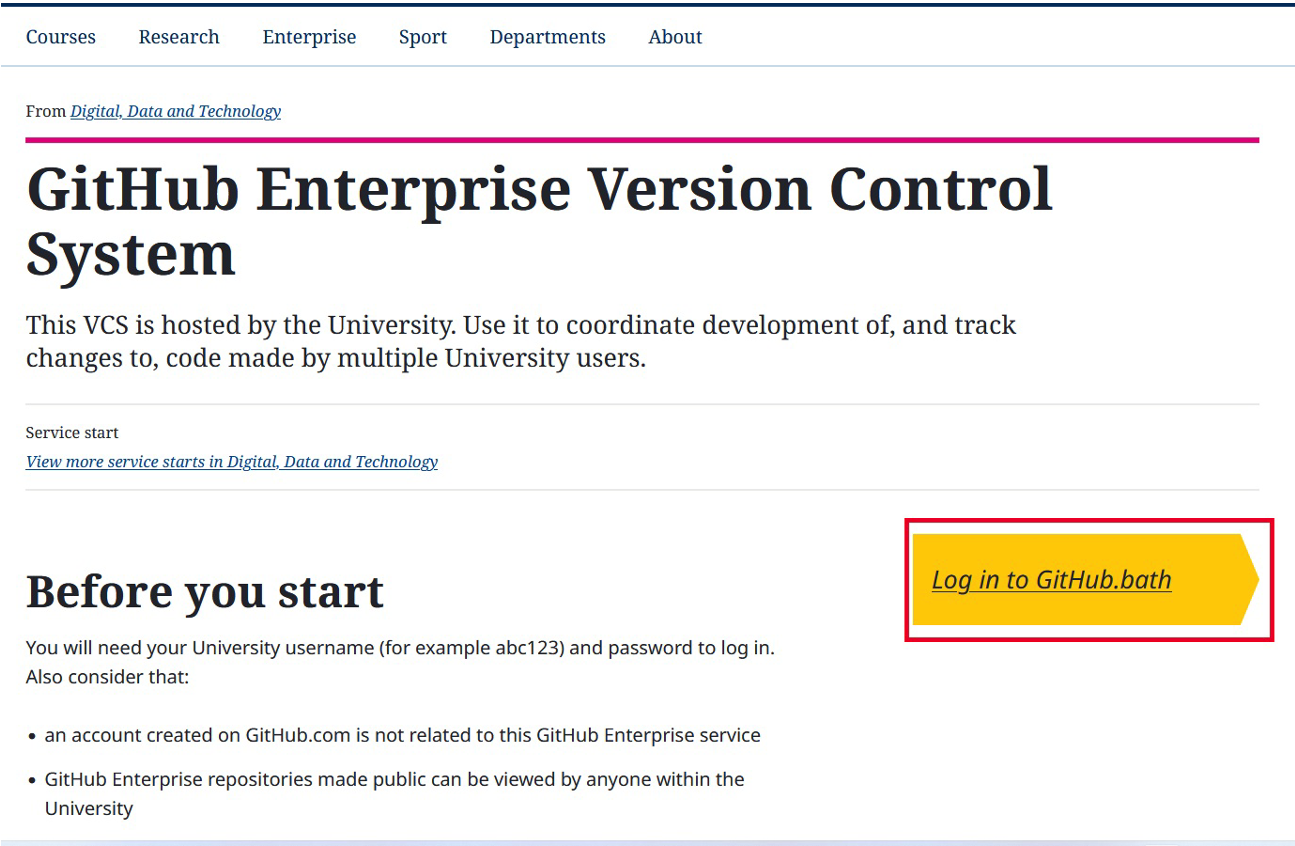
Verify you can login to the University’s Enterprise GitHub system by clicking here and clicking the link highlighted in .
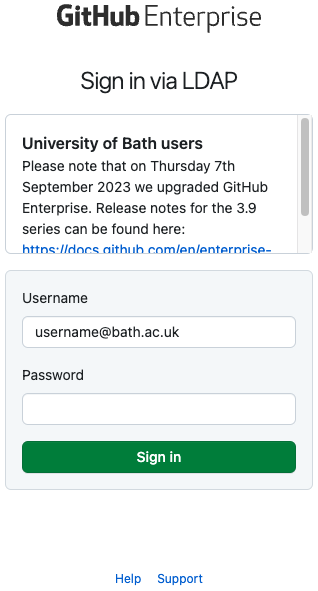
You will then be presented with the login page found here, as shown in .
Upon successfully logging in, you should be presented with the page shown in .
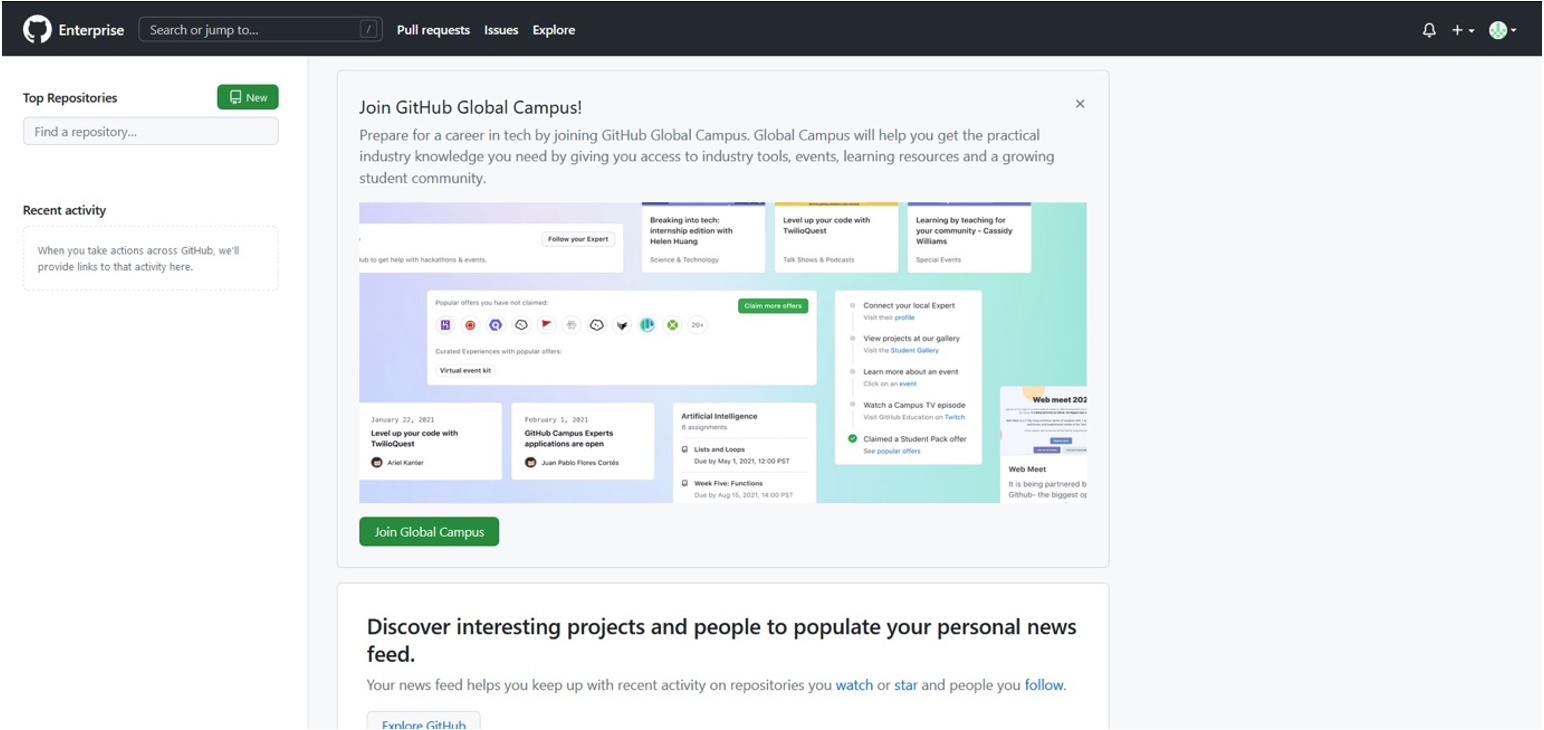
You have two options for creating a repository;
- You can manually create the repository online as shown by the green button
- You can remotely create it following the directions below
Creating the new repository
Make/move to the directory you want to have your repository in by running the following in terminal/command prompt (these commands will work in Windows, MacOS & Linux):
- Make a new directory
cd ./Documents- OR just navigate to where you want it saved:
cd /path/to/directory
- OR just navigate to where you want it saved:
mkdir ./git_code/beatrix_developmentcd ./git_code/beatrix_development
- Initialise the repository: whilst in the directory, use the git init command to initialise the git repository
git init
- Create a file called
README.md- Add content and description here. This should be your group, what the task is, how you have done the task
git add README.md && git commit -m "added readme" README.mdgit push origin main- Verify the Git repository works by checking online that the repository exists and has been updated with your README.
Sharing your new repository
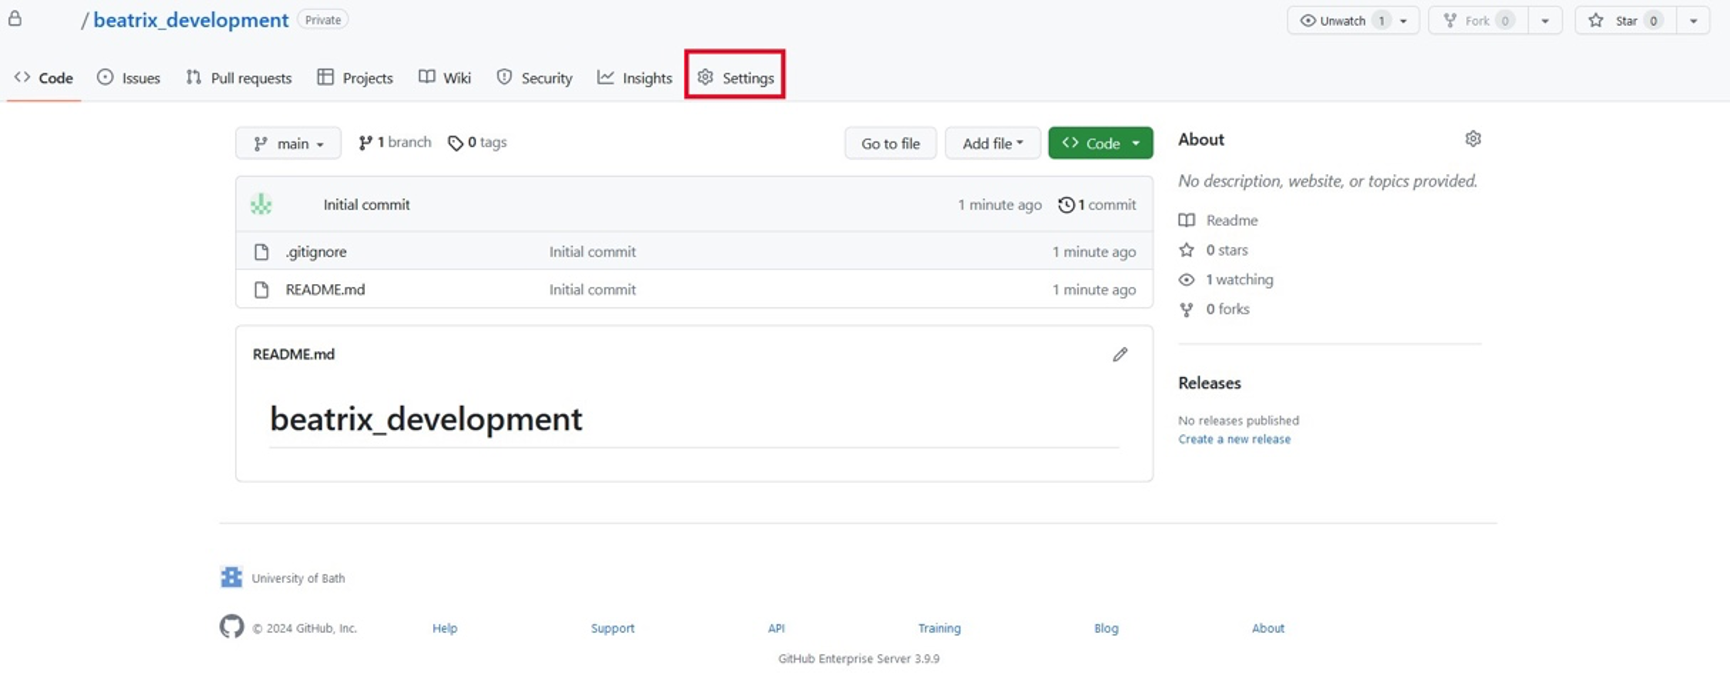
Use your web browser for these steps.
- Navigate to Repository Settings:
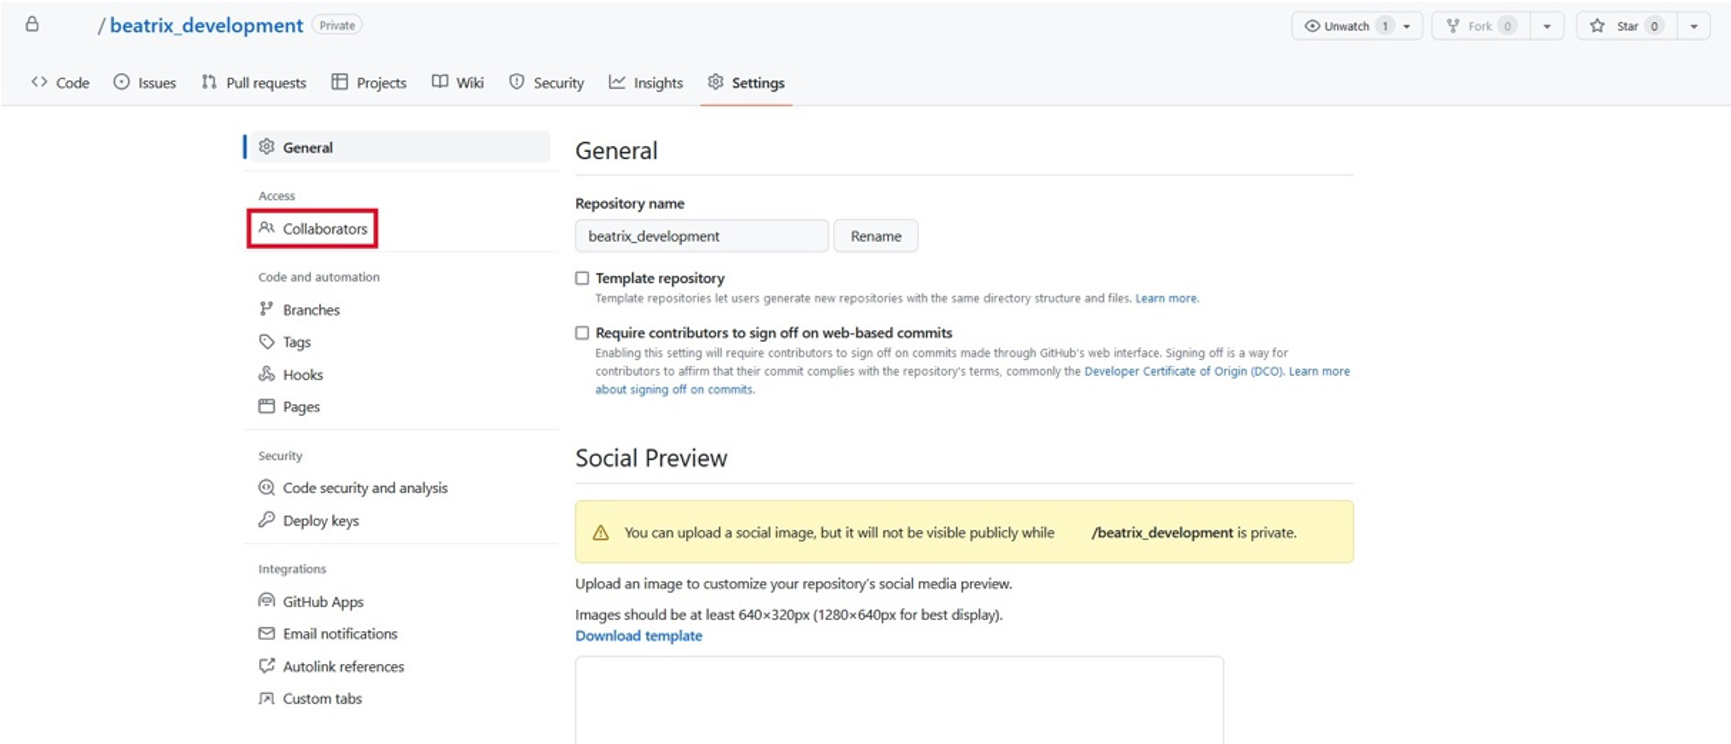
- Invite a Collaborator:
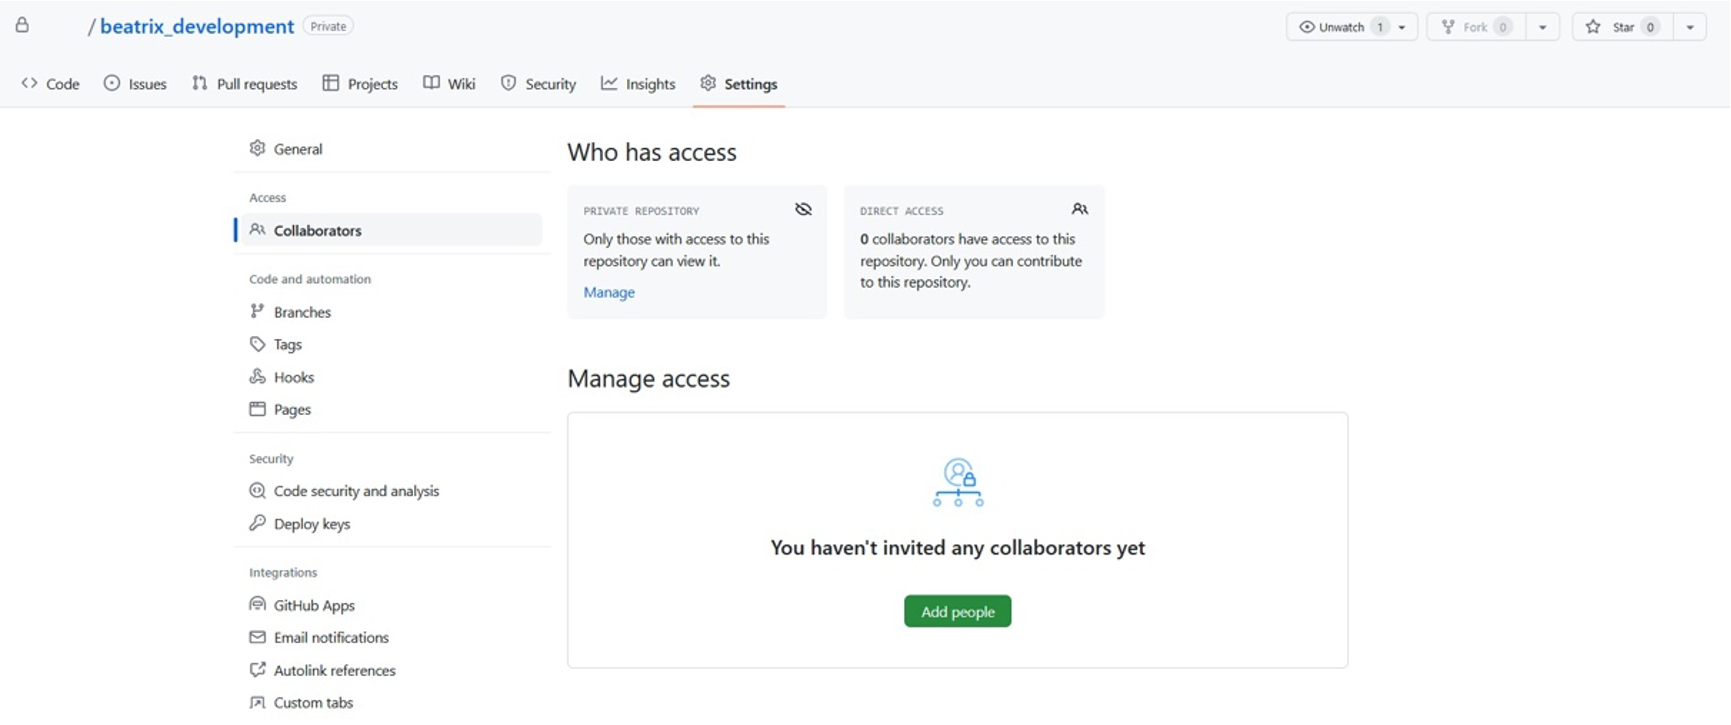
- Enter the GitHub username, email address, or the name of the person you want to add as a collaborator.
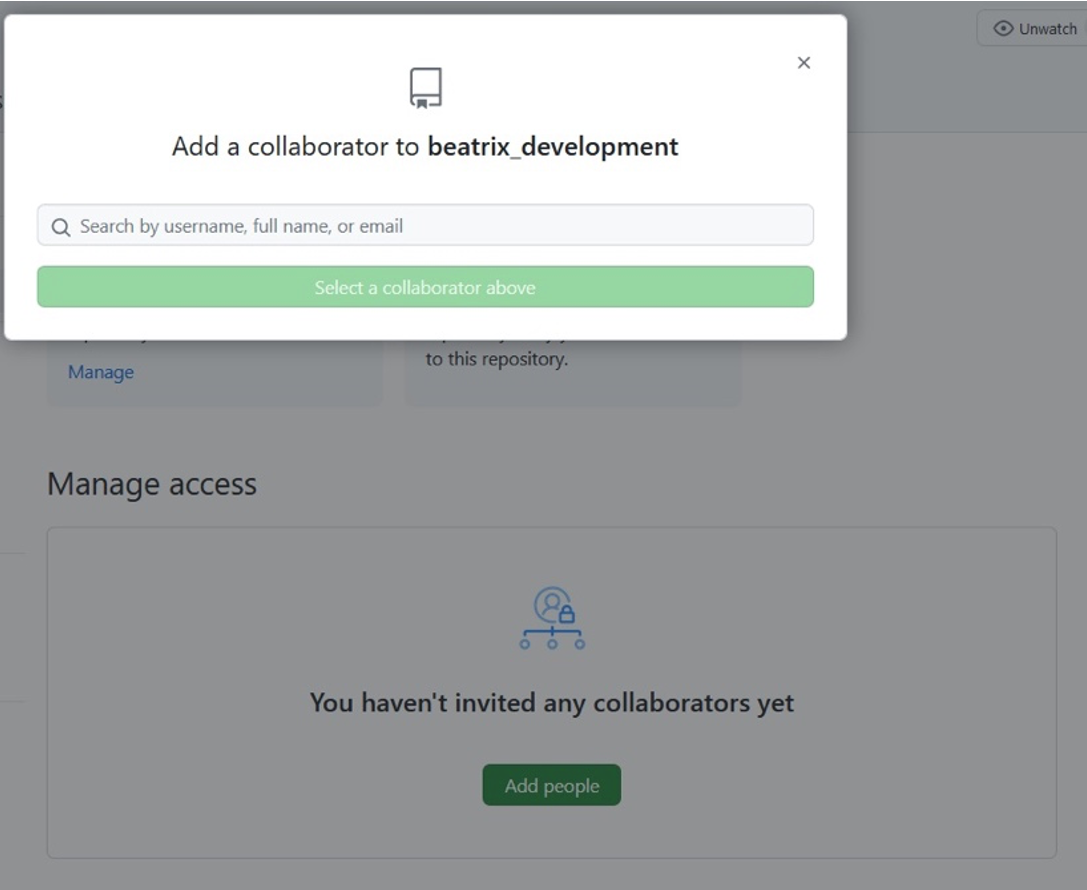
- Confirm Invitation:
- GitHub will send an invitation to the collaborator.
- The collaborator will receive an email notification and a notification on GitHub.
- The collaborator will need to accept the invitation to become a collaborator on the repository.
Clone your new repository
Enter these commands in terminal/command prompt (they will work in Windows, MacOS & Linux);
- Make a new directory to clone the repository into;
cd ./Documents- OR just navigate to where you want it saved:
cd /path/to/directory
- OR just navigate to where you want it saved:
mkdir ./git_code/beatrix_developmentcd ./git_code/beatrix_development
- Clone the Repository: Use the git clone command followed by the URL of the repository you want to clone. For example:
git clone https://github.com/username/repository.git
- Enter Credentials (if needed): If the repository requires authentication, you might need to enter your username and password or use SSH keys for authentication.
- After running the git clone command, Git will clone the repository into your specified directory. You can verify this by navigating to the directory in your file explorer or using the
lscommand (on Unix-based systems) ordircommand (on Windows).
Additional Notes
If you use VSCode as your Development environment, Git can be integrated very quickly and easily. This removes the need to manually enter Git commands. More information is available here.