Manufacturing
Introduction to the Laser Cutting and 3D Printing Lab
The details below have been provided by the Laser Cutting and 3D printing lab. You must familiarise yourself with all the sections before signing the register to be allowed to use the facilities.
the lab is open from 8:30 am to 3:45 pm.
Although every effort will be made to accommodate request for 3D Printers, this may be limited at times of maximum demand.
Molten Plastic can cause severe thermal burns – PPE Must be Worn:
- Gloves
- Safety Glasses
- Please read Risk Assessment for 3D Printing
Located at bottom of Stairs out through door, left and left again in corridor - Unisex Toilets.
- First Aid Box Down Stairs.
- Nearest First Aider – Lee Hancock in Main Workshop.
In the event of a Fire the mustard point is down by the lake.
- Please do not use or touch any other 3D Printer other than the one you have been given.
- Please do not touch the materials on the shelf
- If you have a Fault with your machine or you require Guidance on the use of your machine please come and speak to a Technician.
Please see the notes down-stairs on the wall – opposite the door (by the laser) for disposal of Cardboard, Paper, Cans and Plastic Bottles.
- At the end of the working day please clean down your work station and the 3D Printing machine – if leaving on over night for a print ensure the machine is cleaned down when you pick up your part.
- Power down your machine when you have finished with it. This will reduce the energy use consumed by the machine when not being used.
- Please make sure that you log off your PC when you have finished using it,
- Allow 5 Working days for the ordering of materials.
- Full consideration should be given to those suppliers with a sustainability appeal when purchasing consumables for the 3D Printing machines
- Full consideration will be given to considering local suppliers which will reduce the carbon footprint of purchases.
- A Small fee will be charged for the use of the 3D Printer, the charge will be based on the weight of the part you produce.
- Please sign the Register at the end of this briefing – its just a record that you were inducted before you undertook any 3D Printing.
- Please fill in the Check List for LEAF here.
3D Printing Instructions
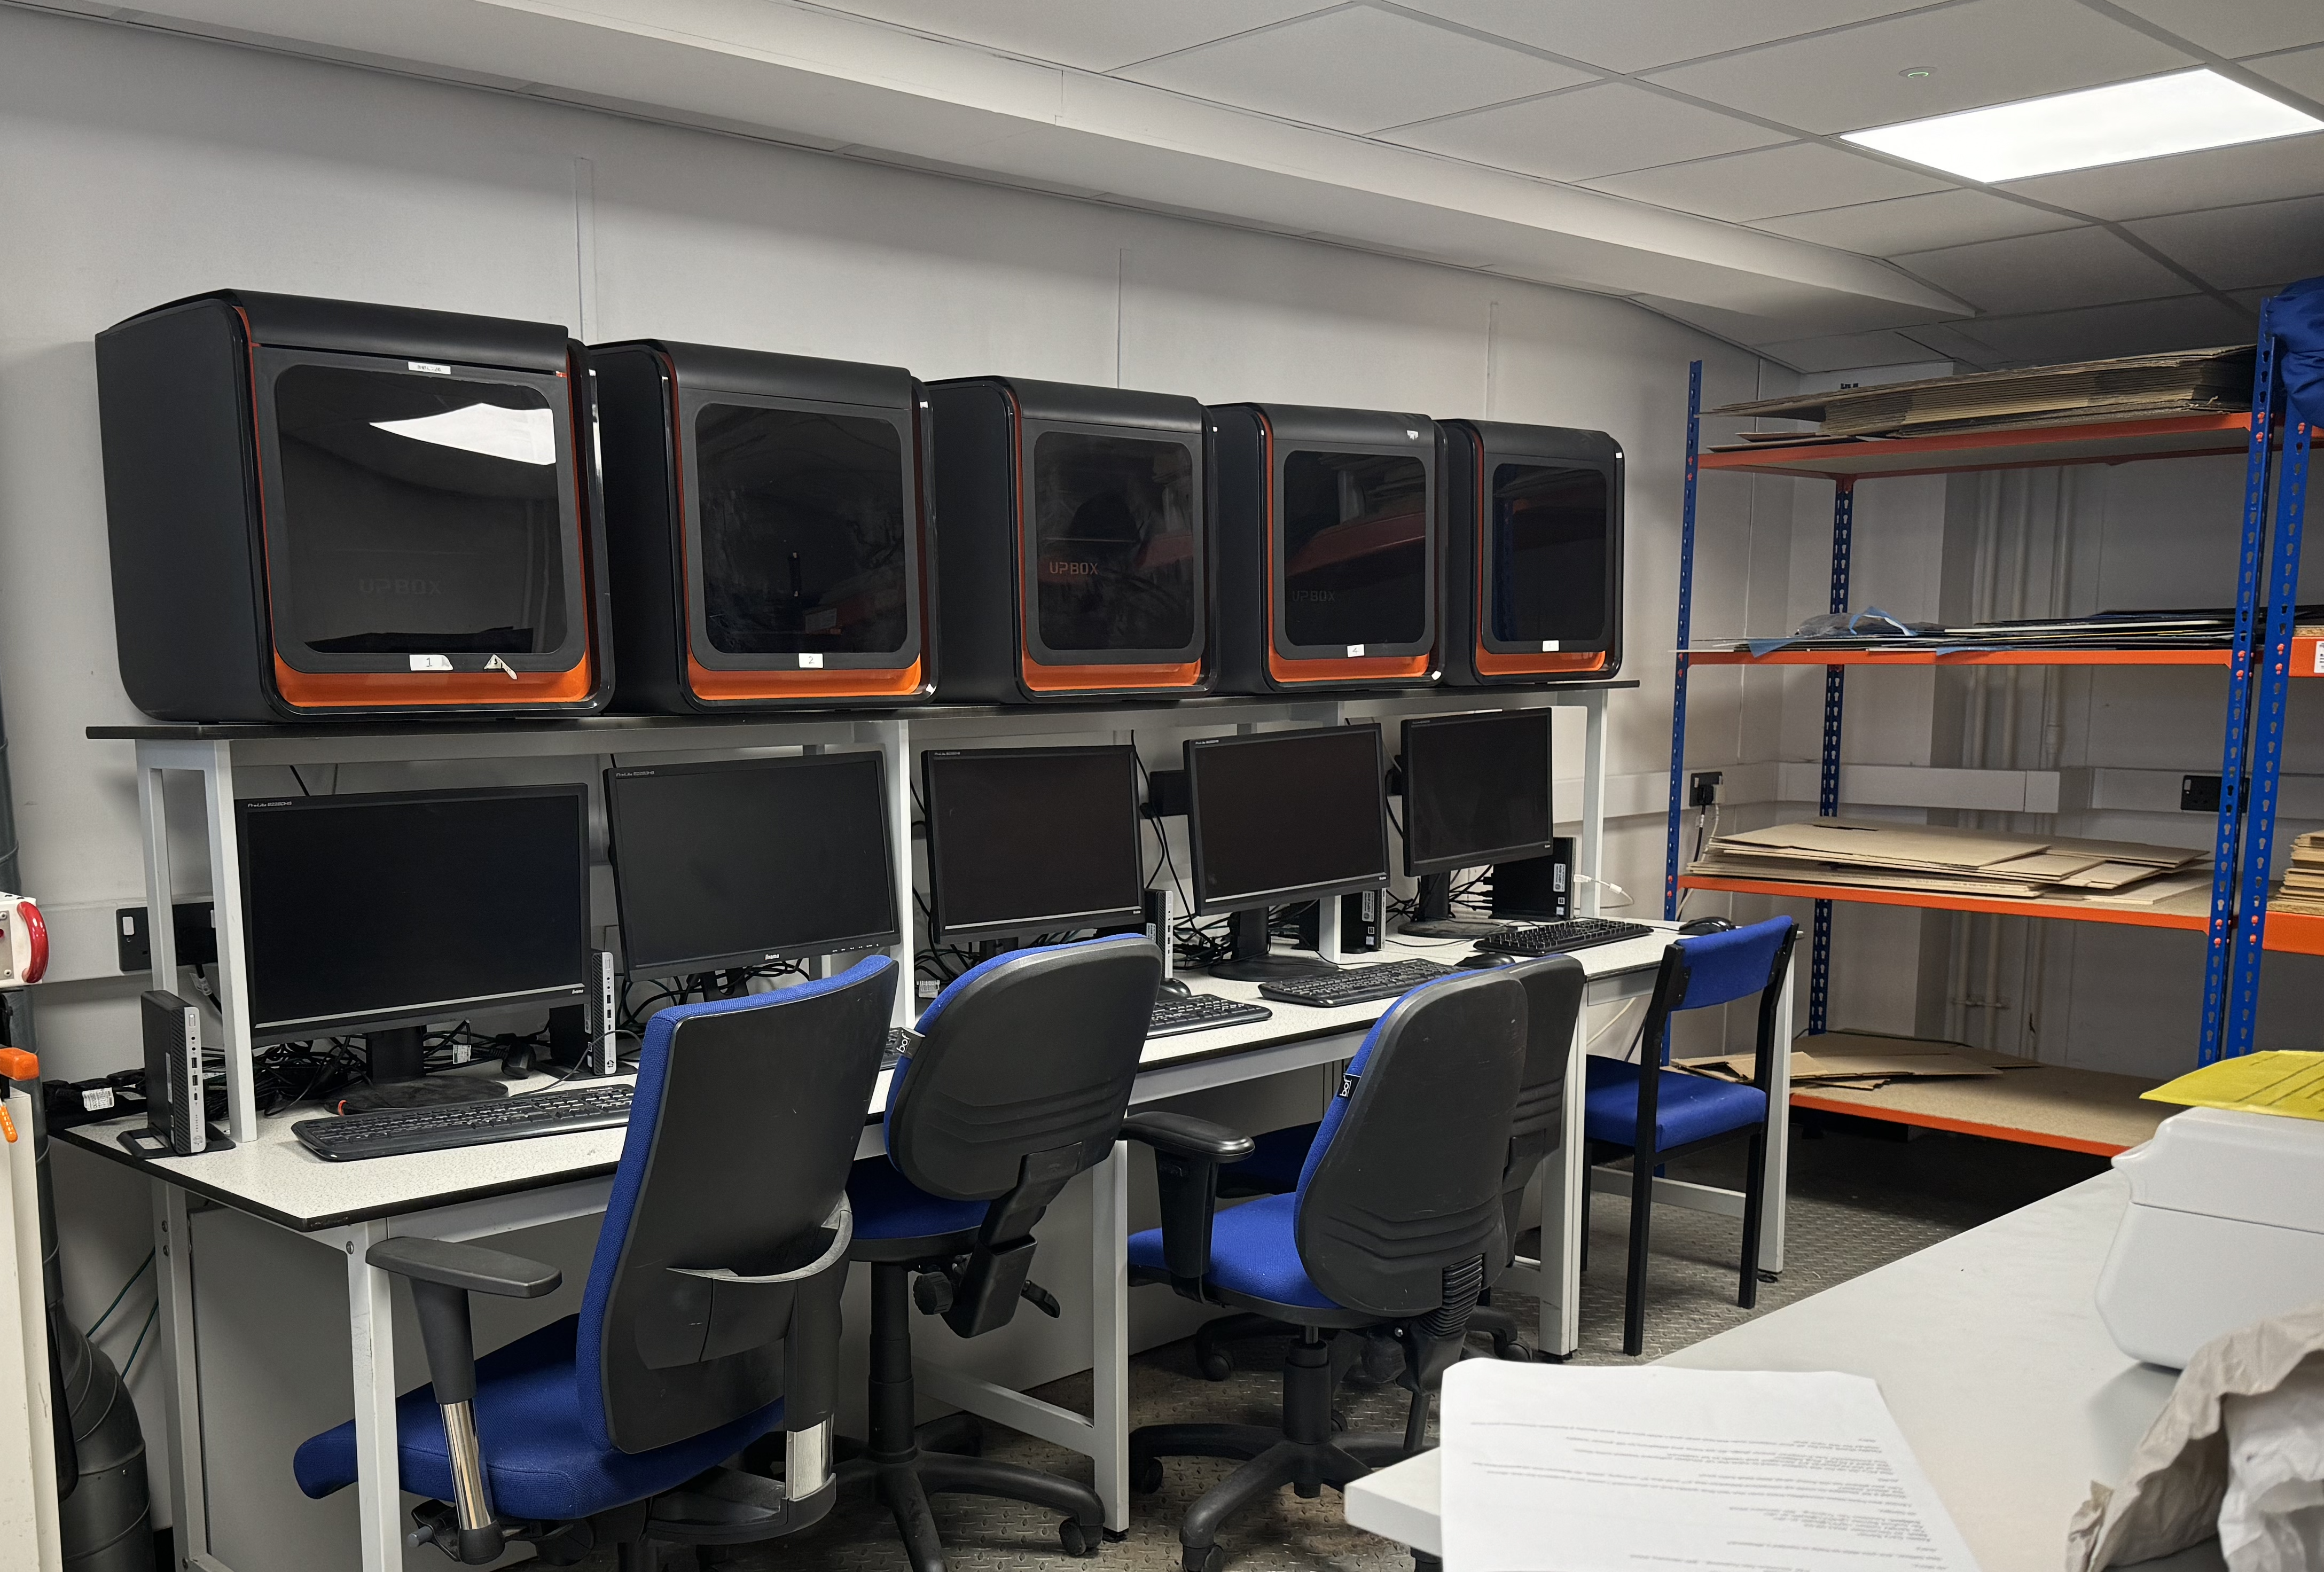
Below is a picture of the 3D printers available for you to use during the project week. They are UP BOX printers and the material available is PLA.
How to 3D print a part:
The process of 3D printing a part starts with exporting the CAD model as a .stl file. A slicer software is then used to generate a G-code, which is what the 3D printer needs to make the part.
- Model Preparation: Adjusts size, orientation, and positioning on the print bed.
- Slicing: Divides the model into horizontal layers for layer-by-layer printing.
- Path Generation: Calculates the nozzle path for material extrusion on each layer.
- Support Generation: Creates supports for overhangs or suspended parts.
- G-Code Generation: Produces G-code, the language 3D printers use for print instructions.
- Settings Customization: Allows adjustment of print quality, speed, infill, and material settings.
There are several slicer software available. The one available in the labs is (add name). The ones you will use for with the UPBOX printers is UP Studio, which can be downloaded on your personal computers using this link. You can find instructions on how to use those two slicers in the drop downs below.
You can access the Manual for the 3D printer and slicer through this link. A printed version of the manual will also be available next to the printers.
Overview of the process:
- Initialise the printer (p.17)
- Add 3D model (p.23)
- Make sure the material selected is PLA
- Heat the bed by pressing the icon and allow it to get to 50-60 degrees before you start.
- Adjust the printer settings as suitable but do not change the nozzle offset. (p.24-32)
- If needed, add supports, but bear in mind that those could be difficult to remove so it is best if your design does not need them.
Please make sure you watch the induction video below to know how to use the 3D printing facility.
3D printing limitations
Given the number of available 3D printers, limitations had to be set for fair use. Those limitations are:
- Your part must not take more than 4 hours to print
- Your part + support material must not weigh more than 200g.
- Try to minimise the need for support material in your design as it can be difficult to remove.
- You are able to print up to three parts in the same time as long as they, combined, meet the requirements above.
3D printing cost
The cost of 3D printing is based on the mass of part printed, including supports, according to the table below.
3D printing slots
To make sure we have a spare 3D printer in case of faults, only 4 of the 3D printers will be used at a time. This means that 4 groups can get to set parts to print in each of the designated manufacturing slots.